
Installation - Setup - Synology - Drive - Guru Cloud (Windows / Mac / Linux)
Setup - Synology – Drive Windows / Mac / Linux - Guru Cloud
IT Guru - IT Guru
Click on “Firefox or your preferred Internet browser” button

Press enter key “Enter www.synology.com'”
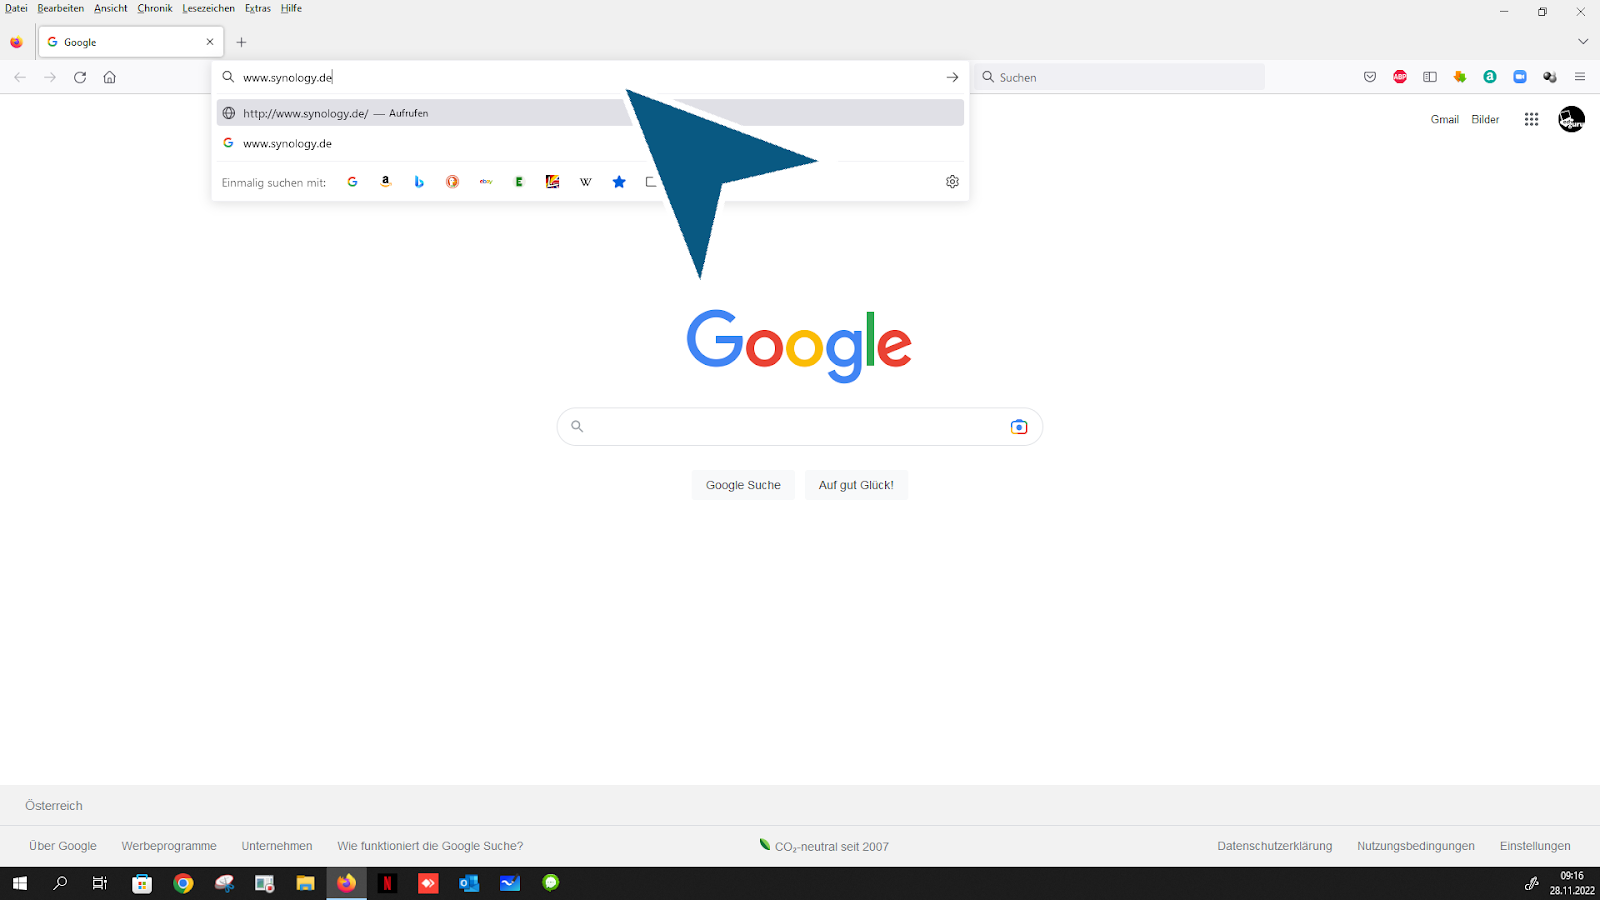
Follow the link: “Download Center”

Click “NAS”
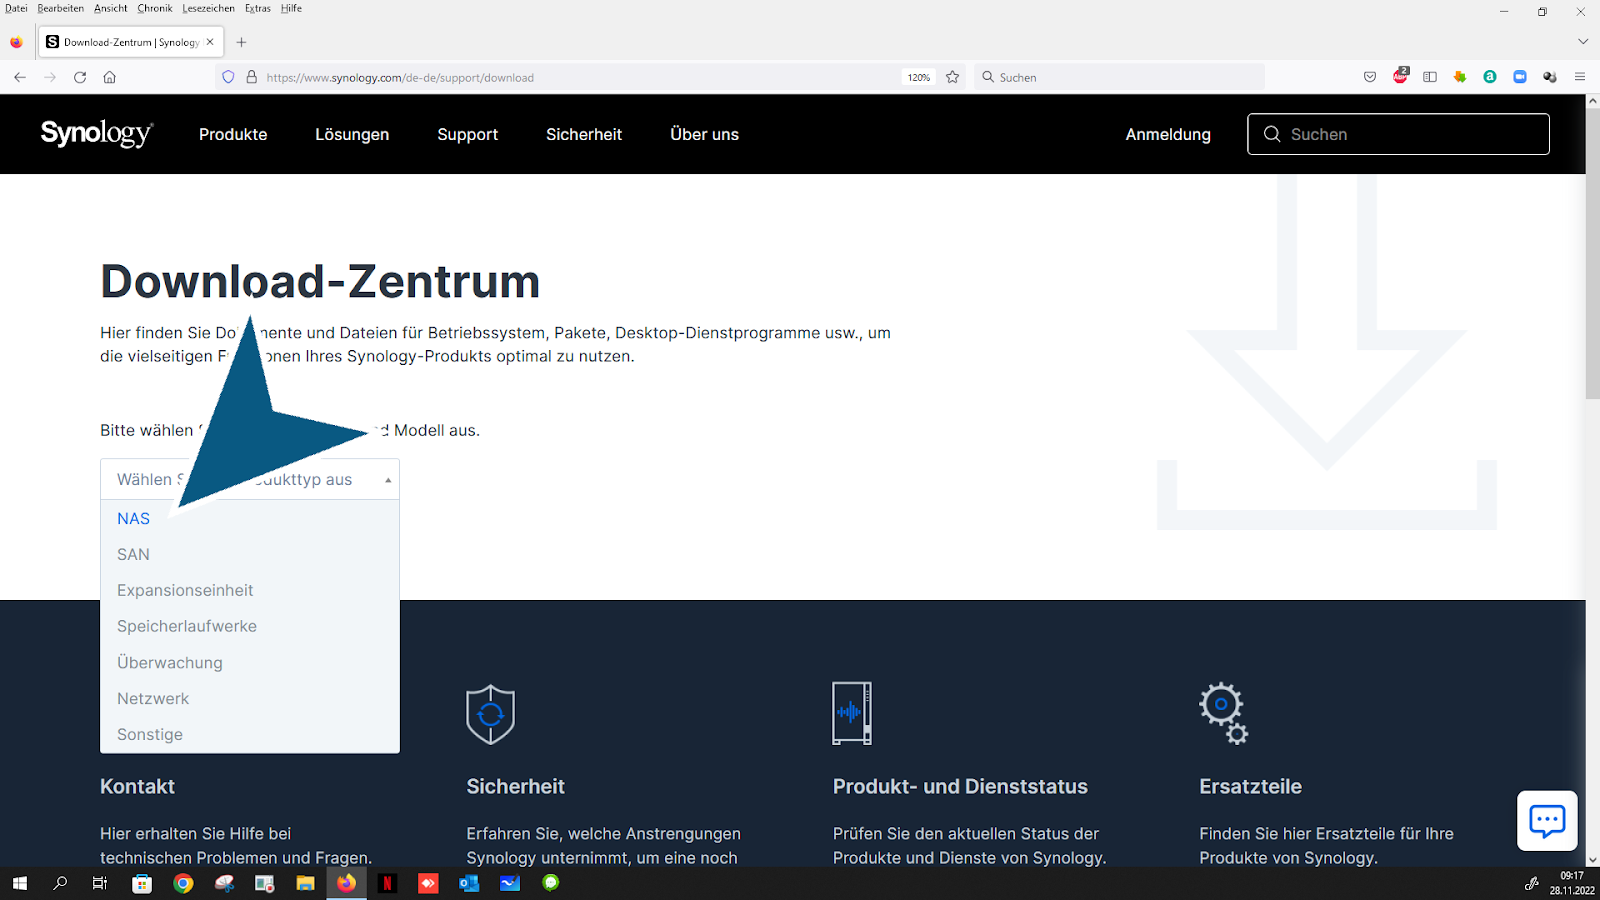
Click “Select your Synology product, you will find this information in your email after your order”
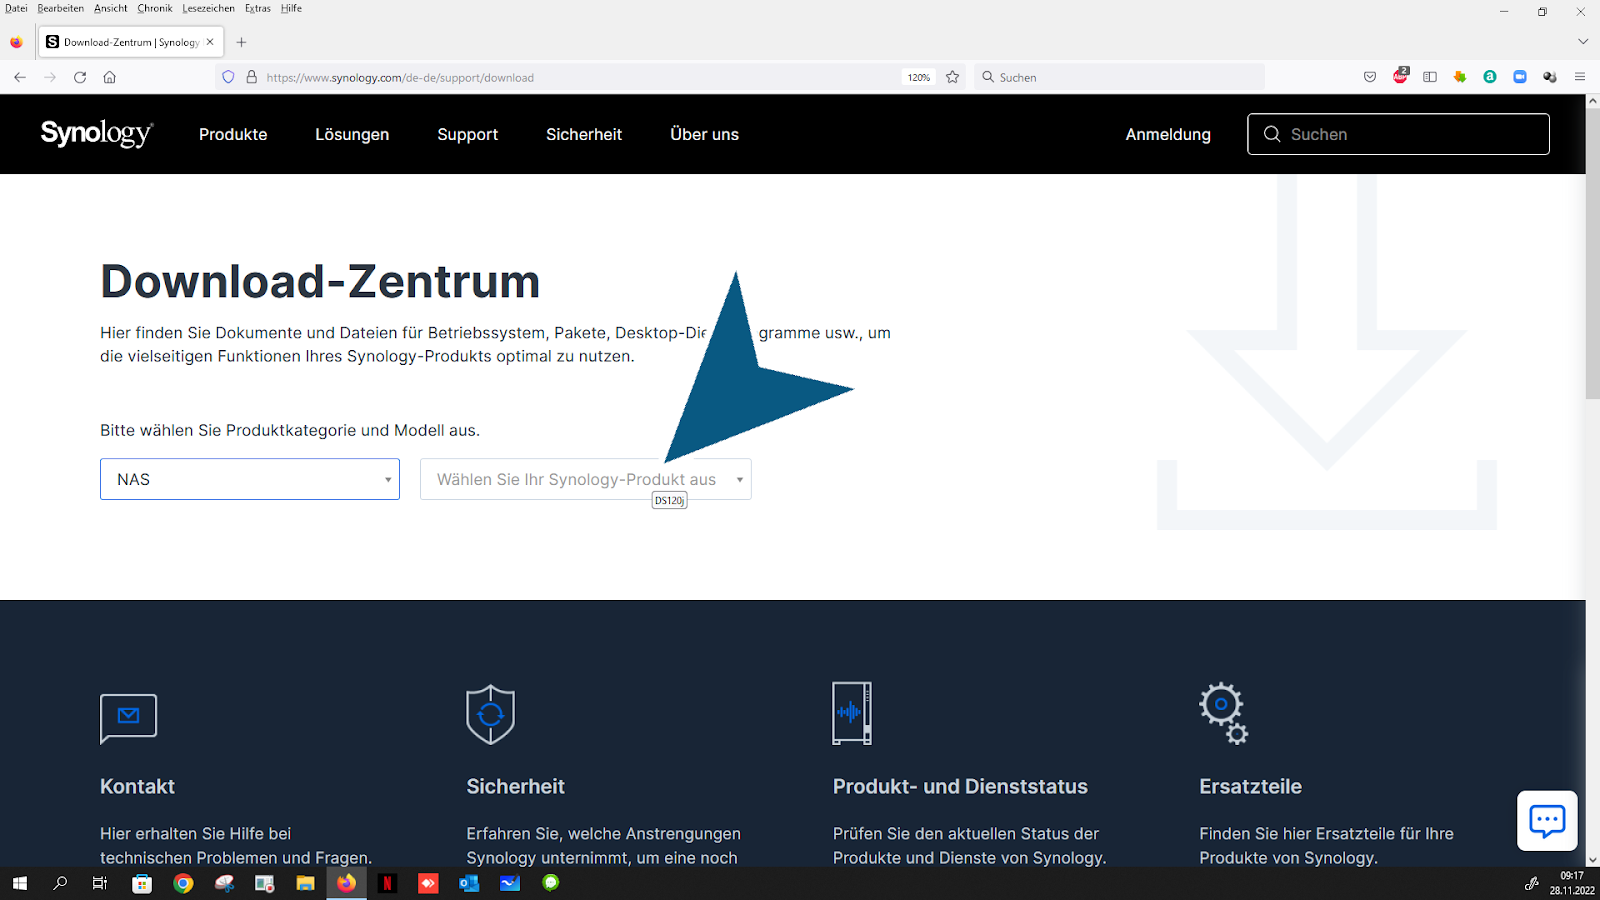
Click “on your Synology model”

Opening the "Select your DSM version. This information can be found in your email from the order. If you have any questions, please contact the IT guru" Combo box

Follow the link: “Desktop Utilities”
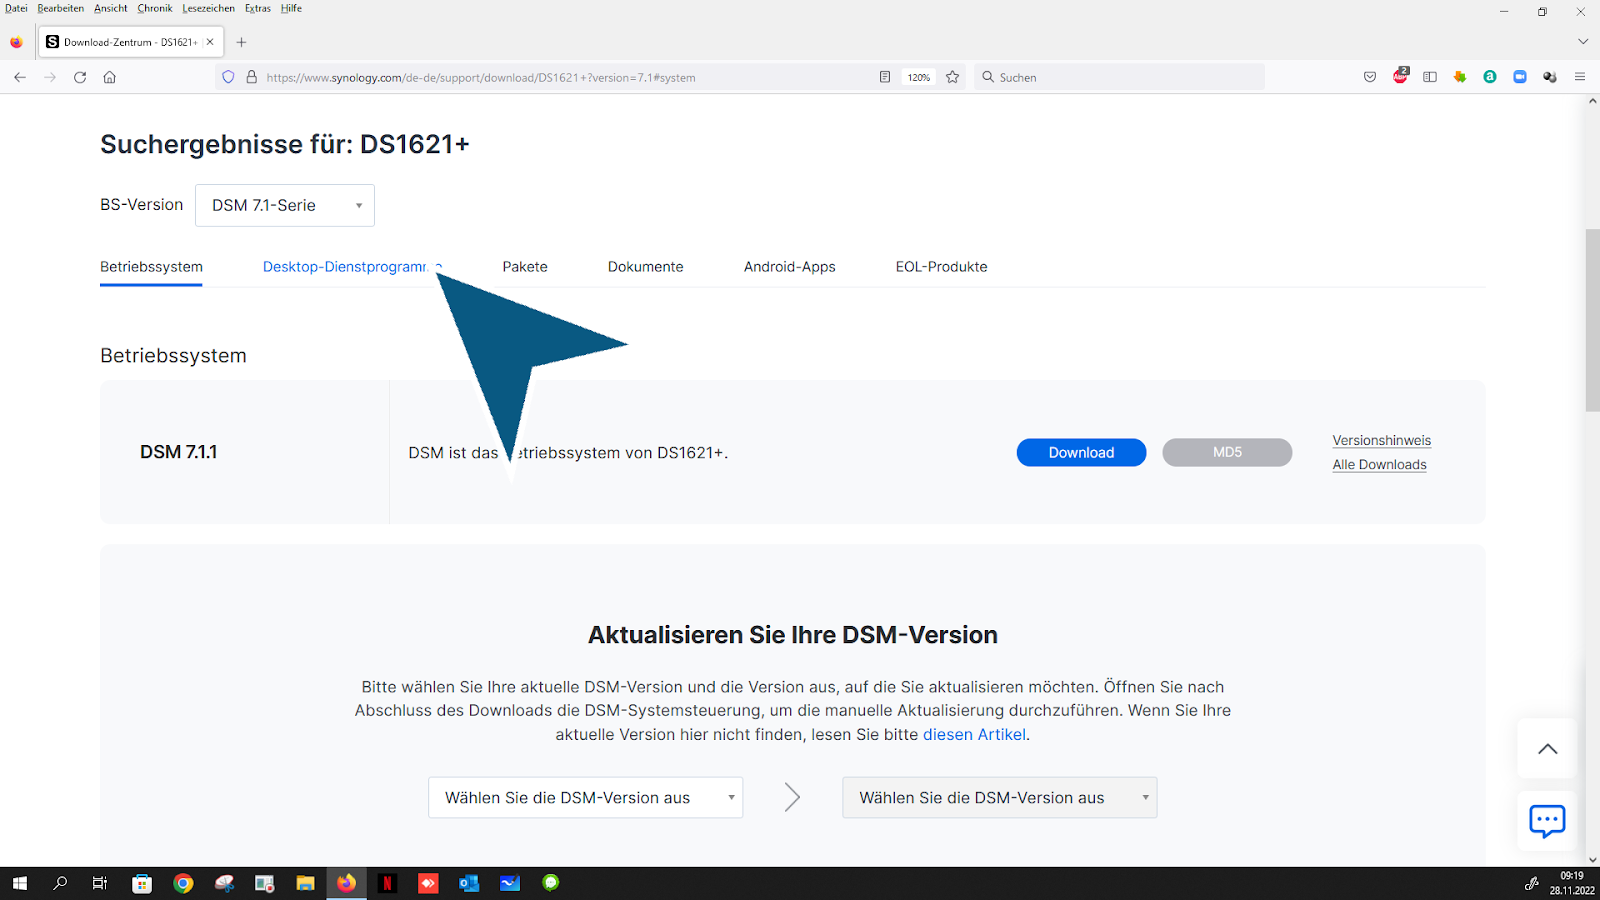
Follow the link: “Download”
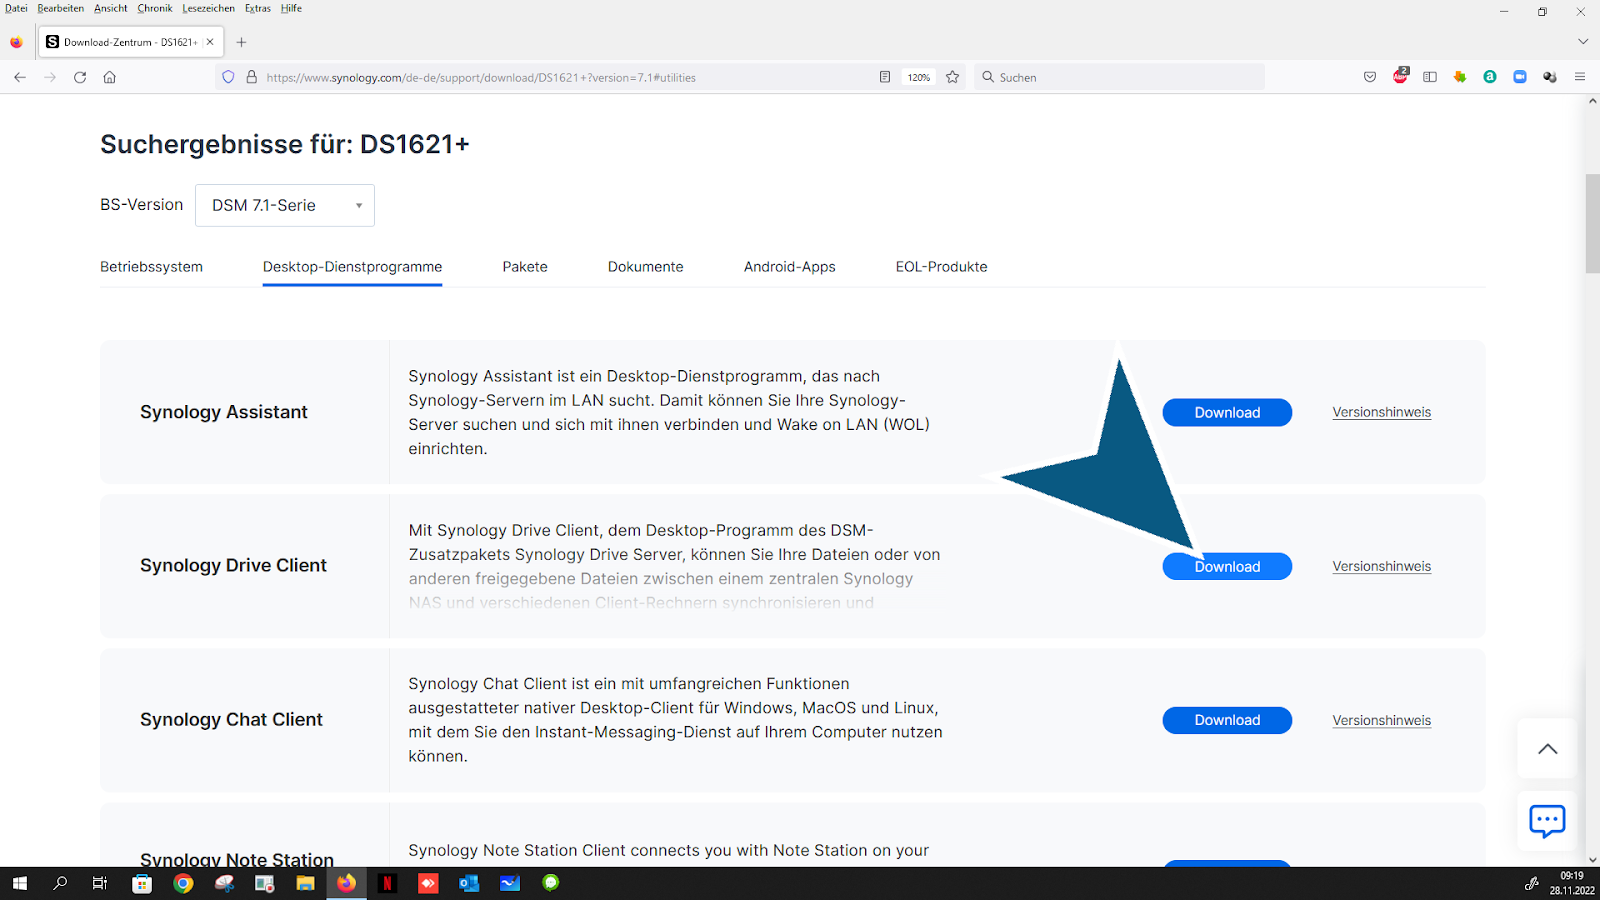
Select your operating system. (Download)

Follow the link: “Download”
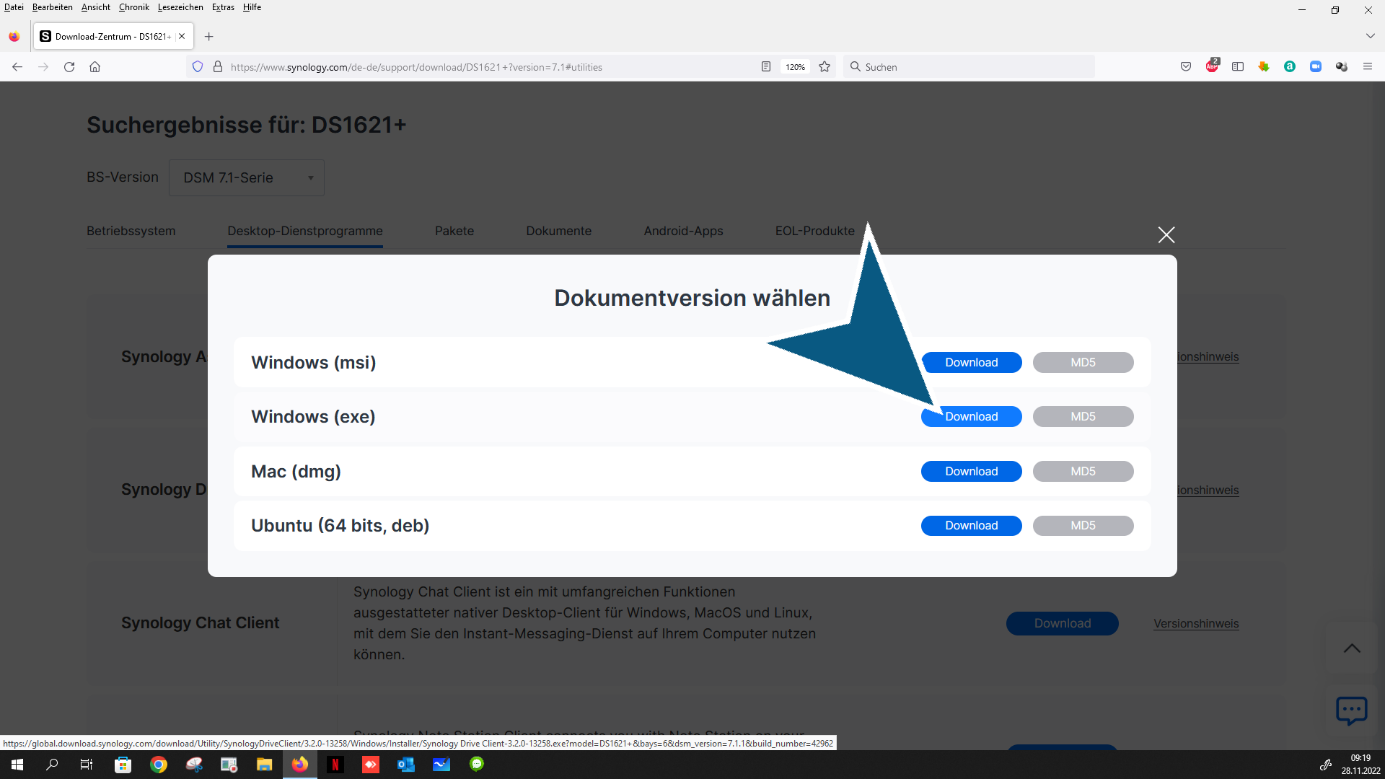
Click on “Save” button
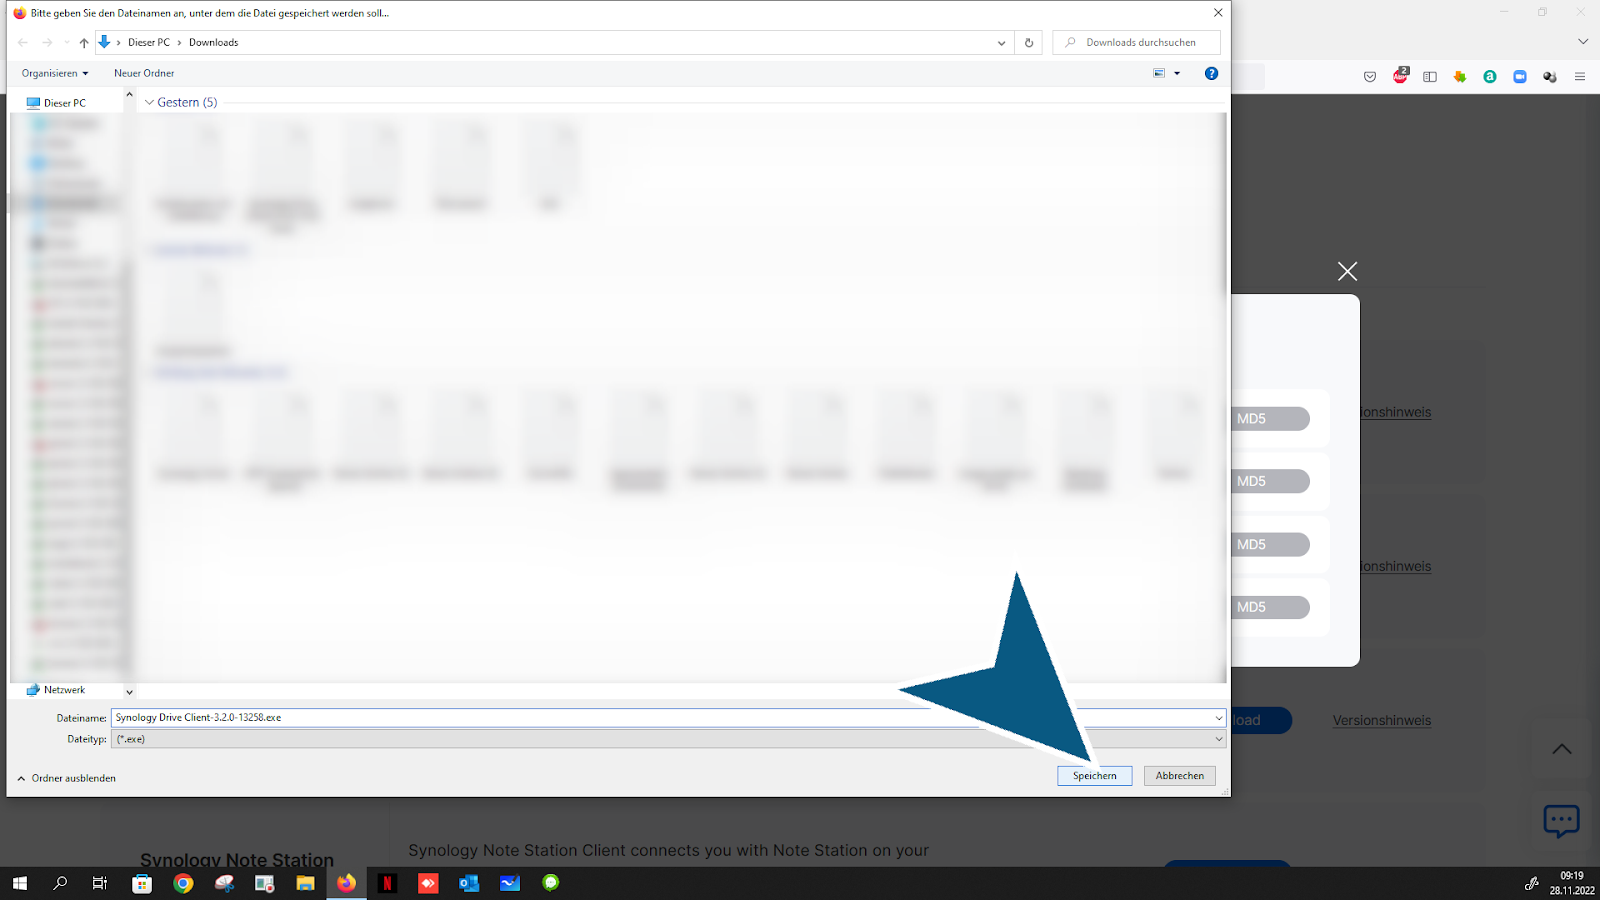
Click on “Downloads” button

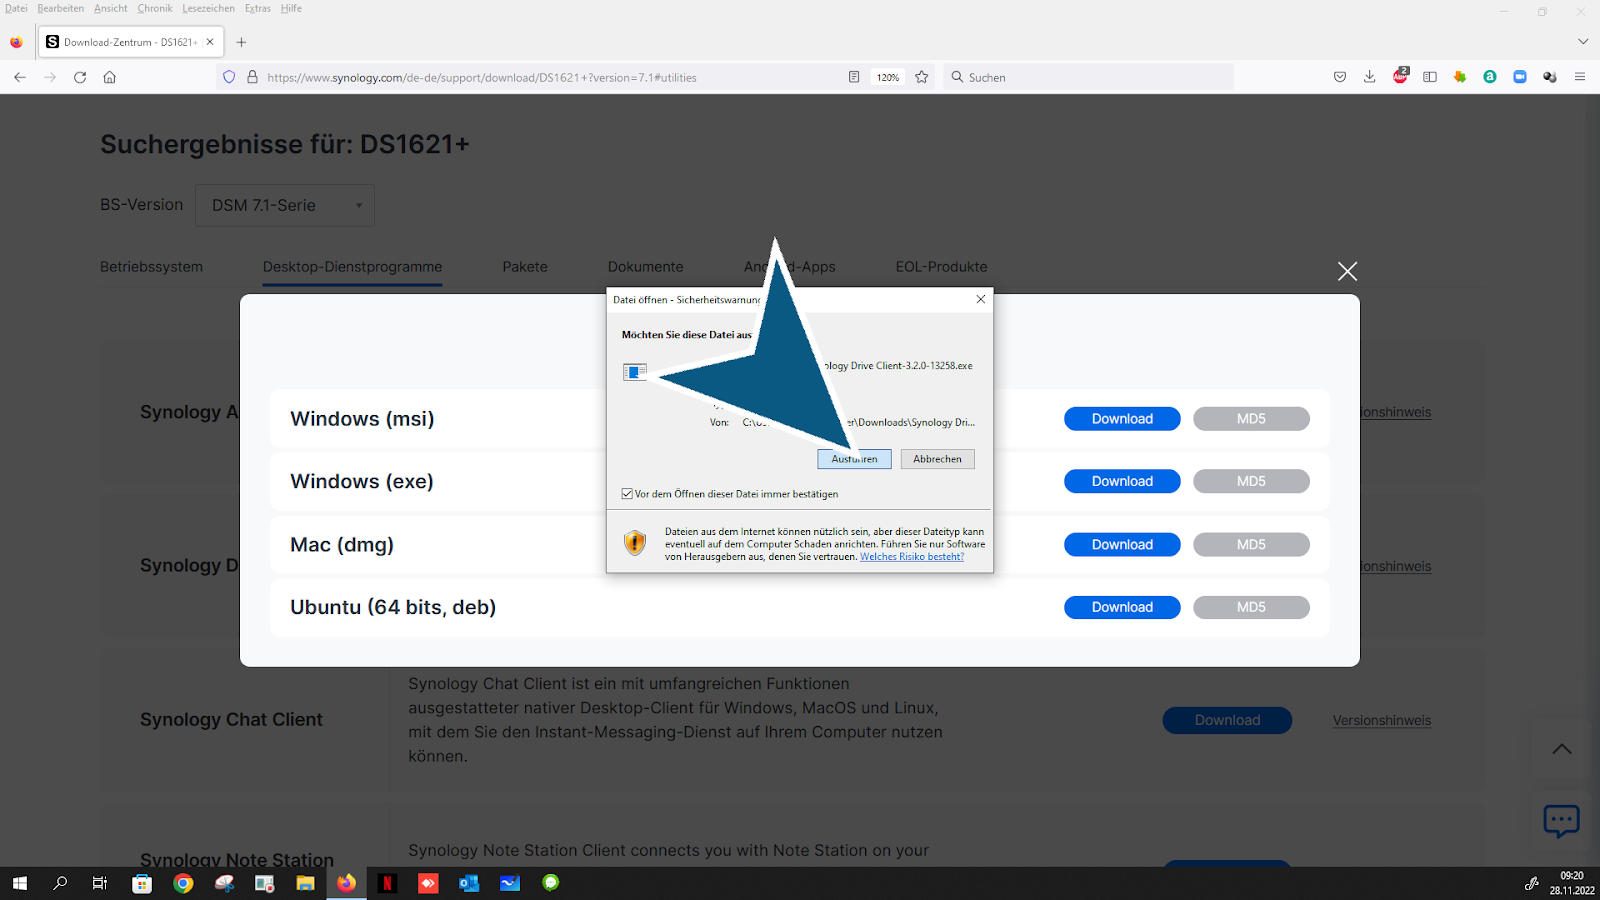
Click to open the file to install

Click on “Execute” button
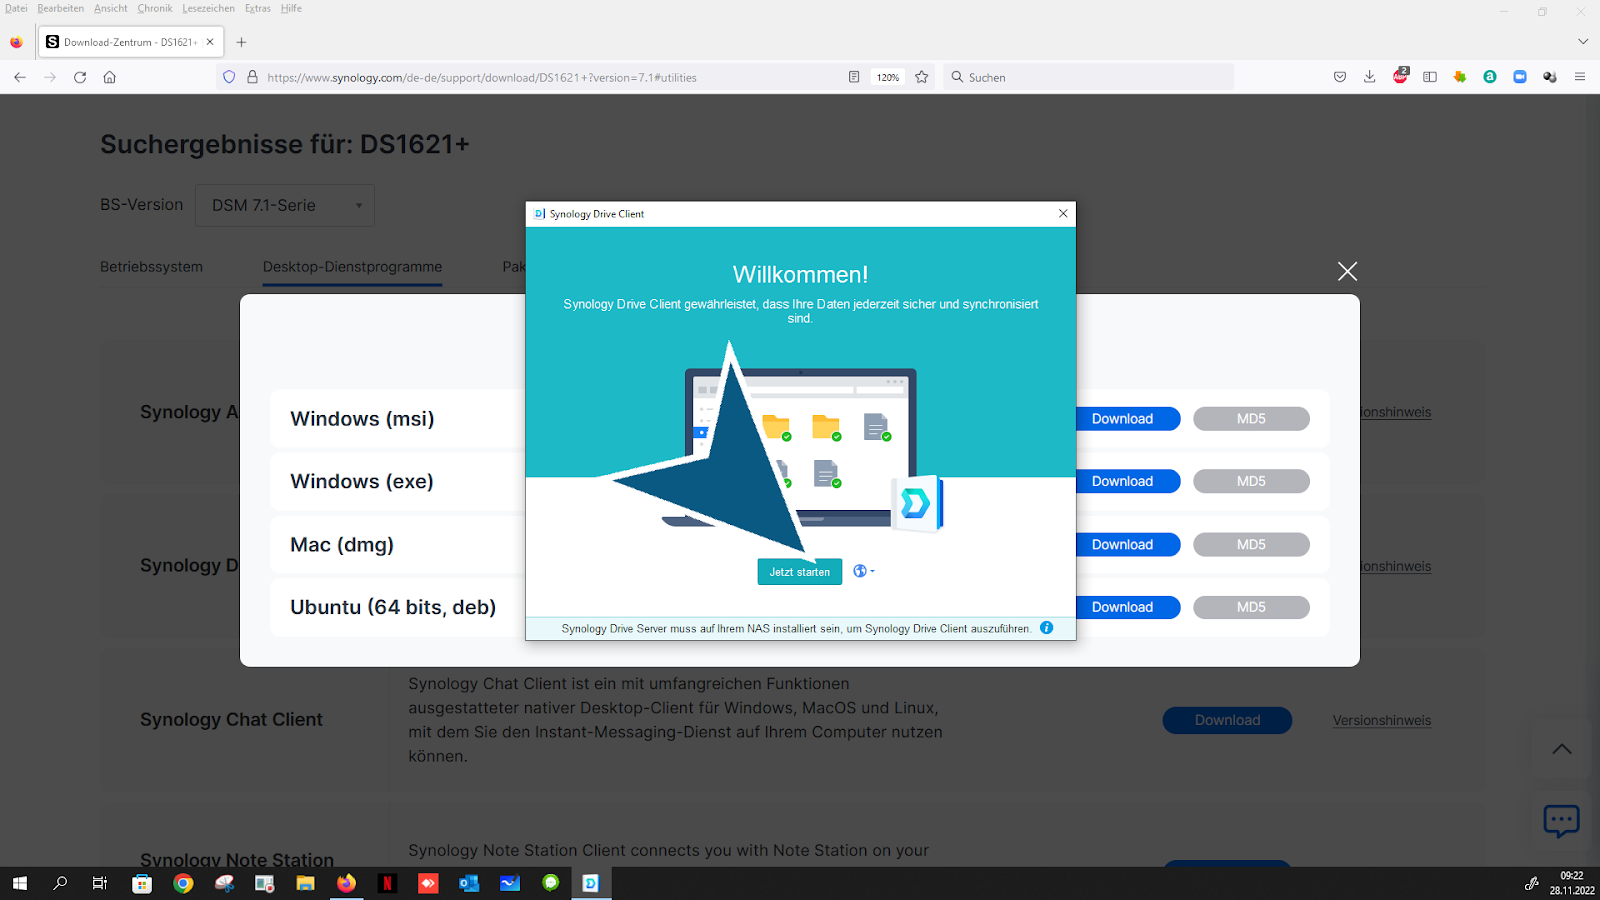
after installation, click „Jetzt starten“ button
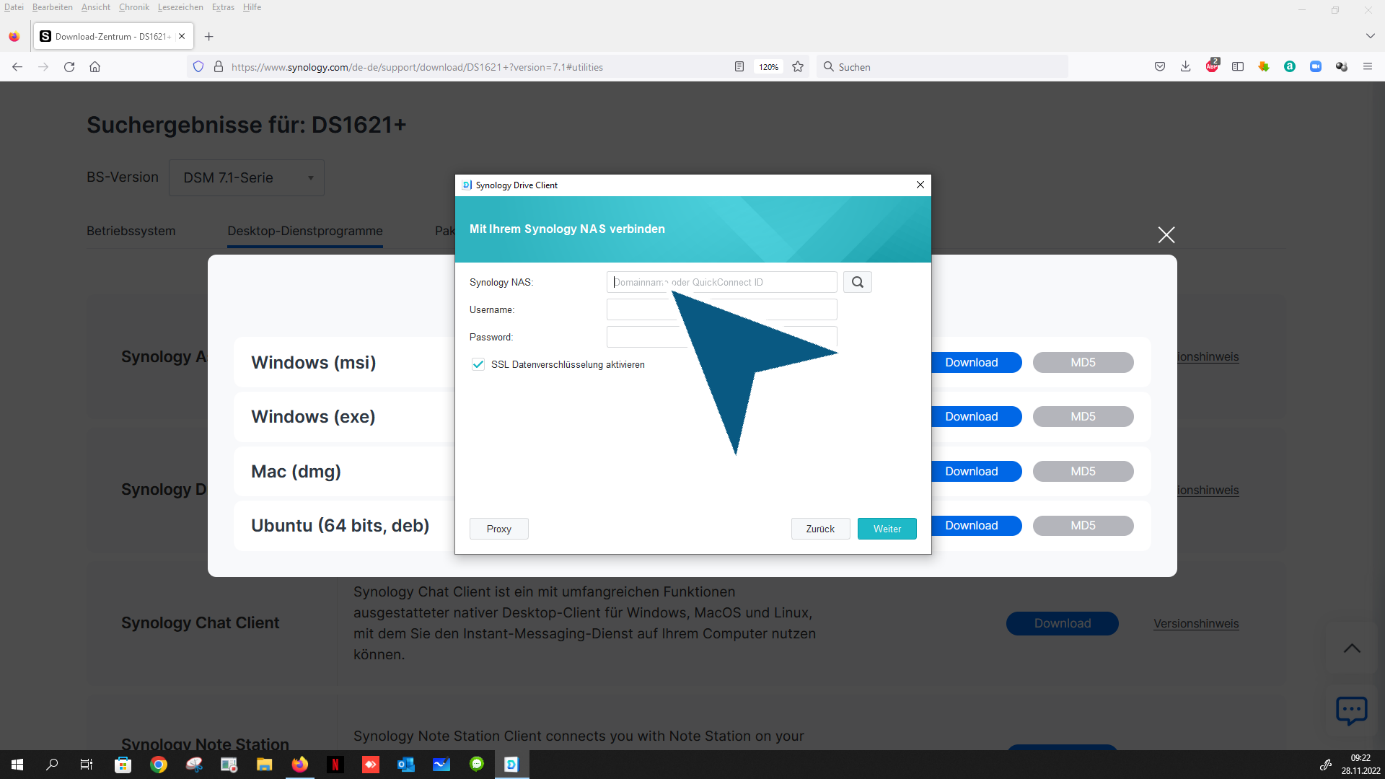
Opening the “Domain name or QuickConnect ID and enter your domain, you can find this in your order information” Combo box
Click “Username”, enter your username
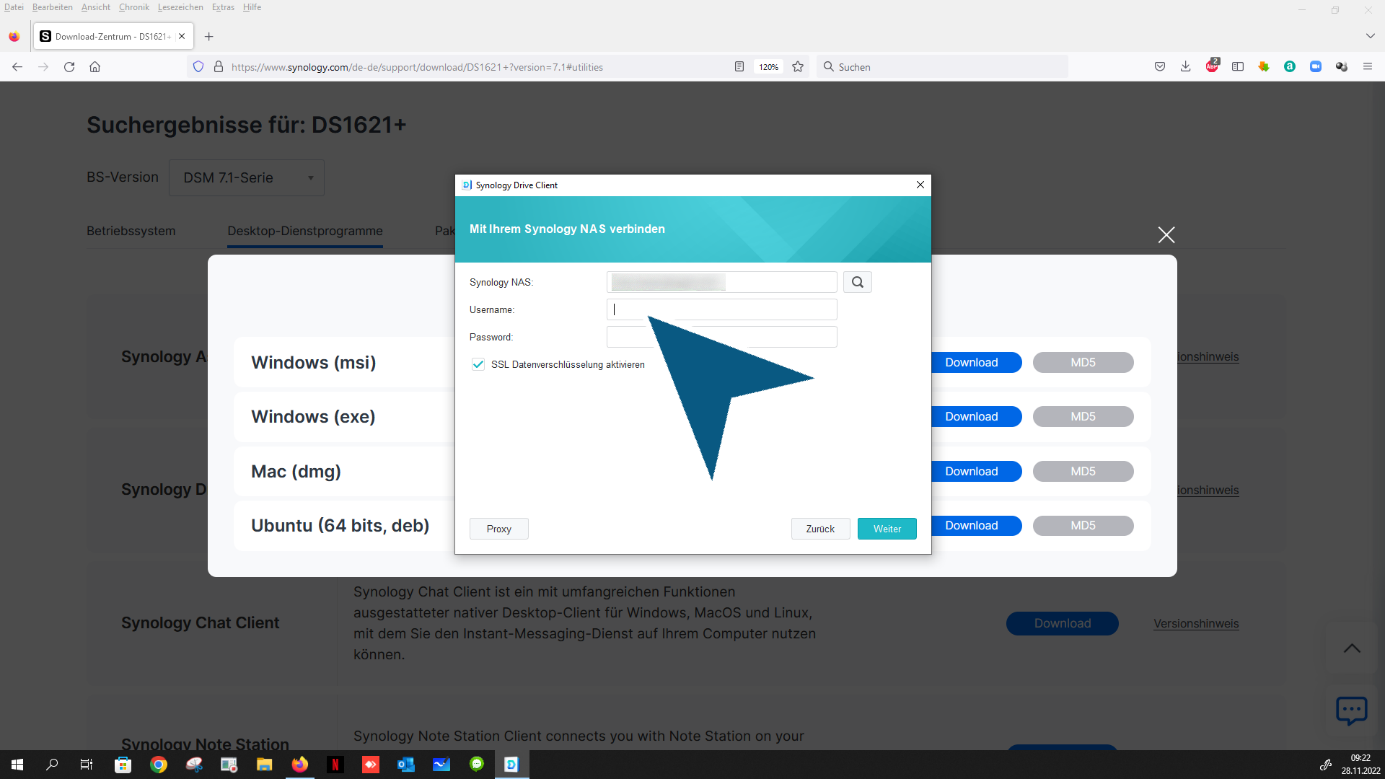
Click “Password” , enter your password

Click on “Continue” button

Choose your connection mode (standard sync task)
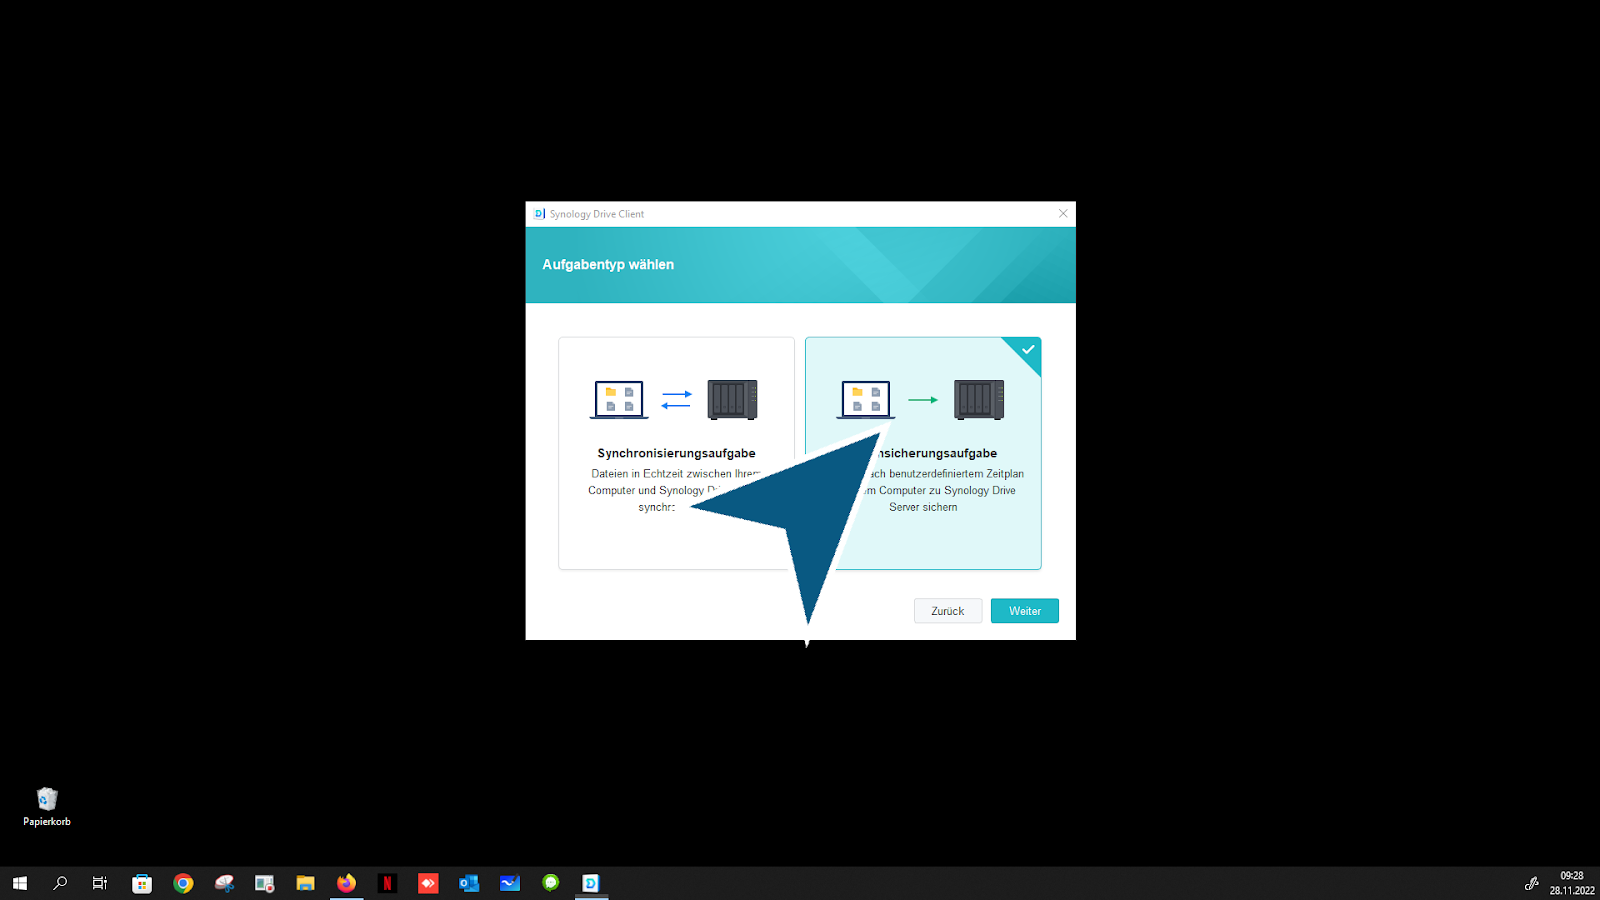
Click
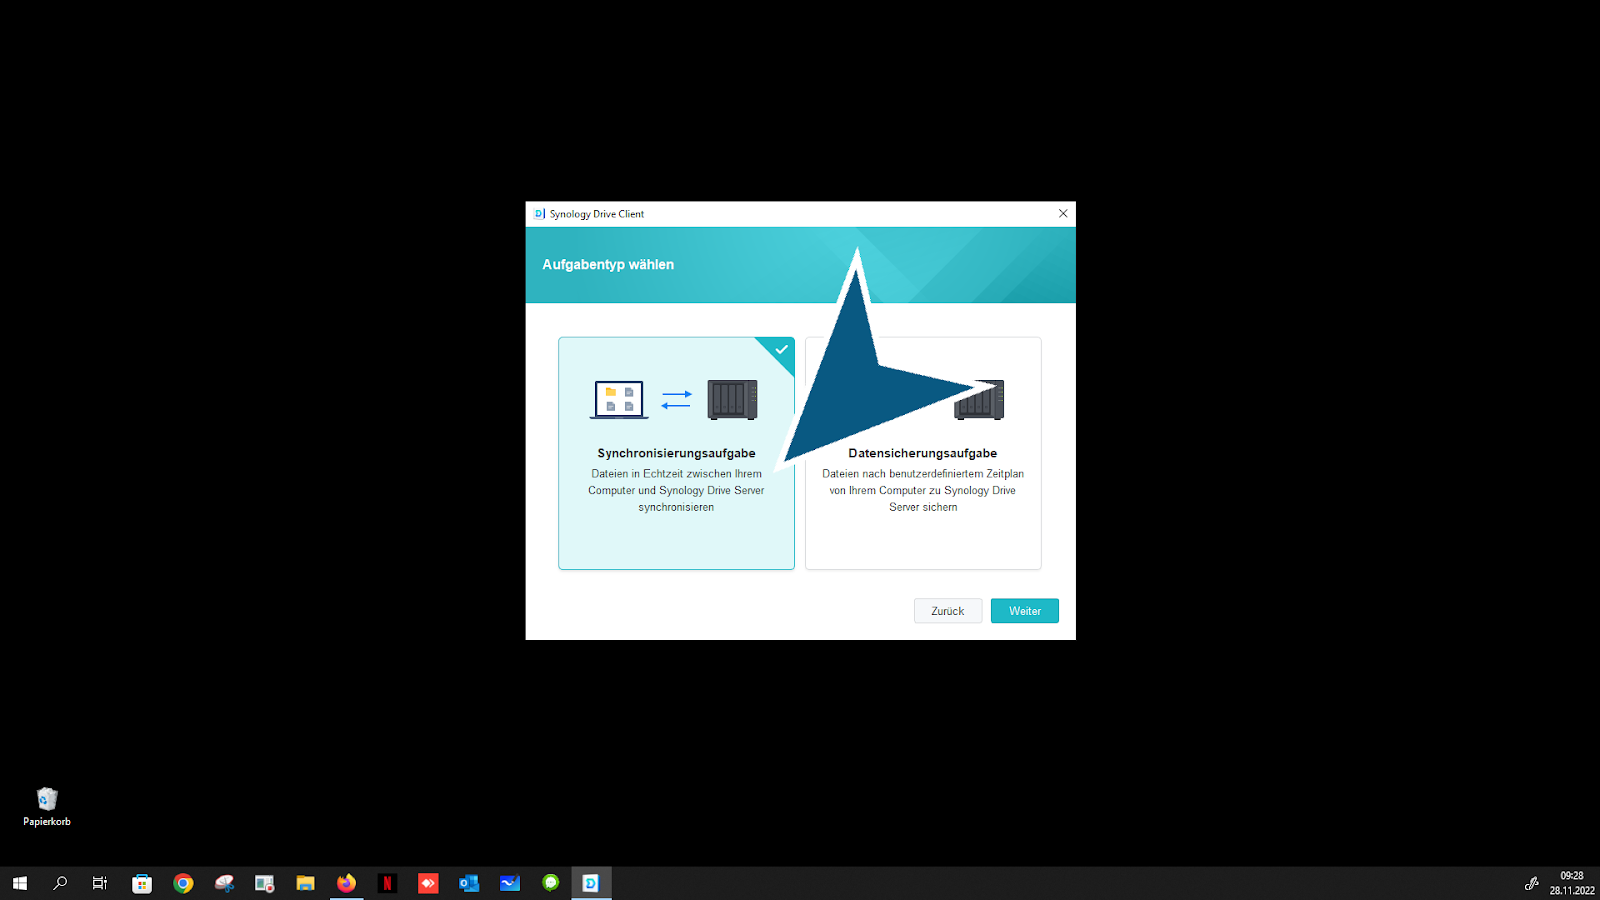
Click on “Continue” button

Click on “Change sync folder” Button (standard settings recommended - therefore no changes necessary)
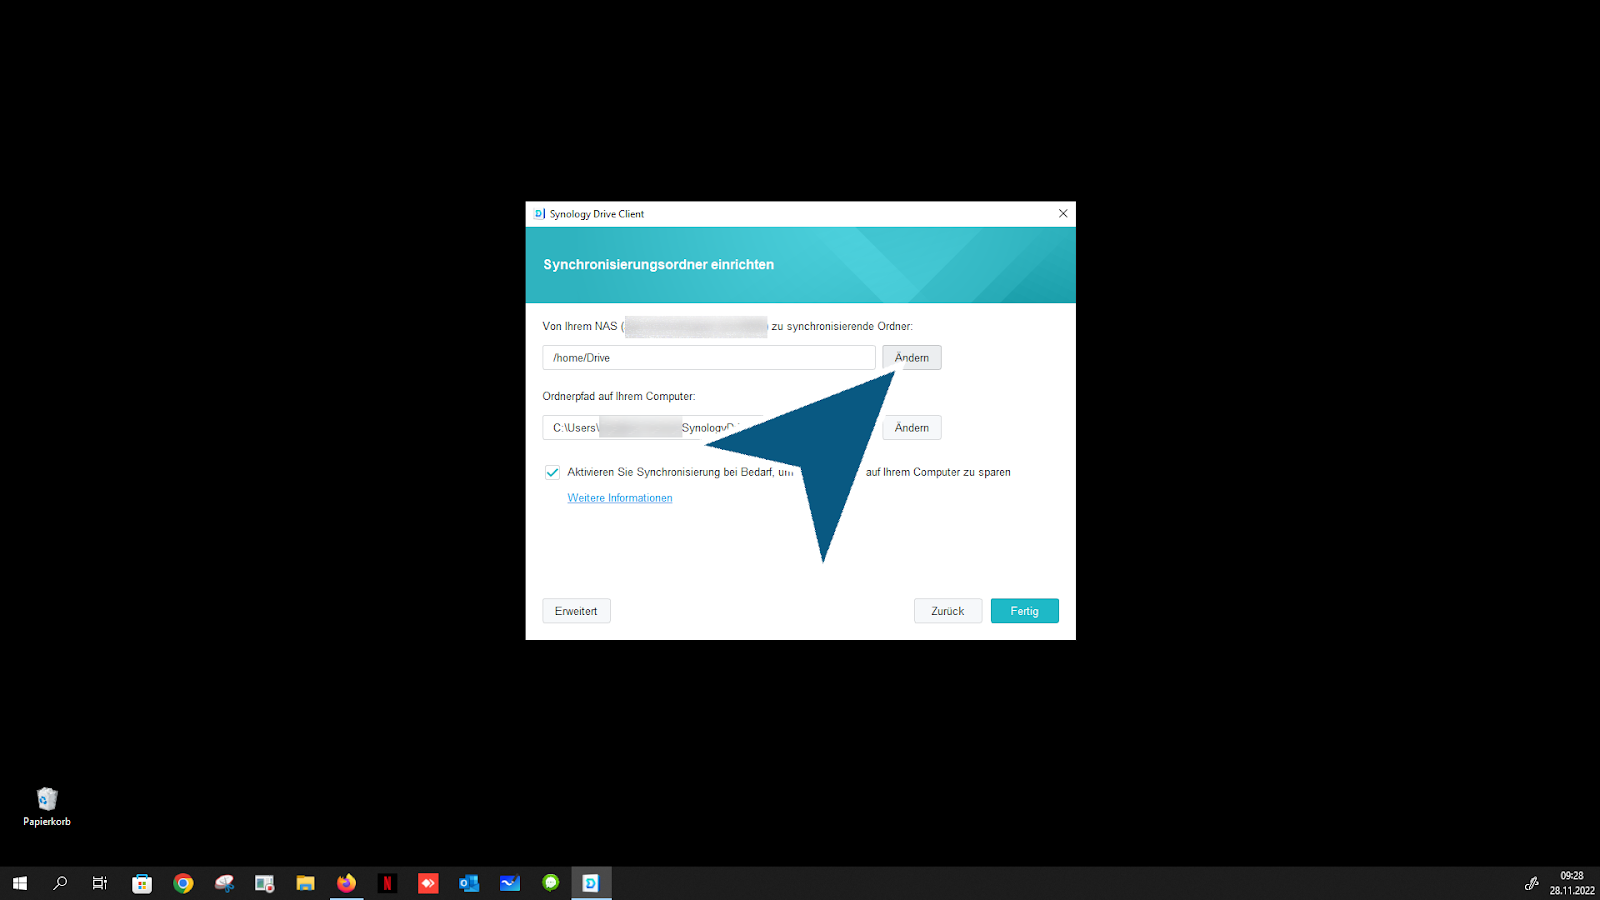
Special step! Click “Team folder” if you want to connect to a team folder (work groups, family groups)

Click on “OK” button

Click on “Change sync folder” button

(Standard field already activated - please leave activated) Click on “Empty SynologyDrive folder” create” checkbox

Click on “OK” button

(Standard field already activated) Click on checkbox
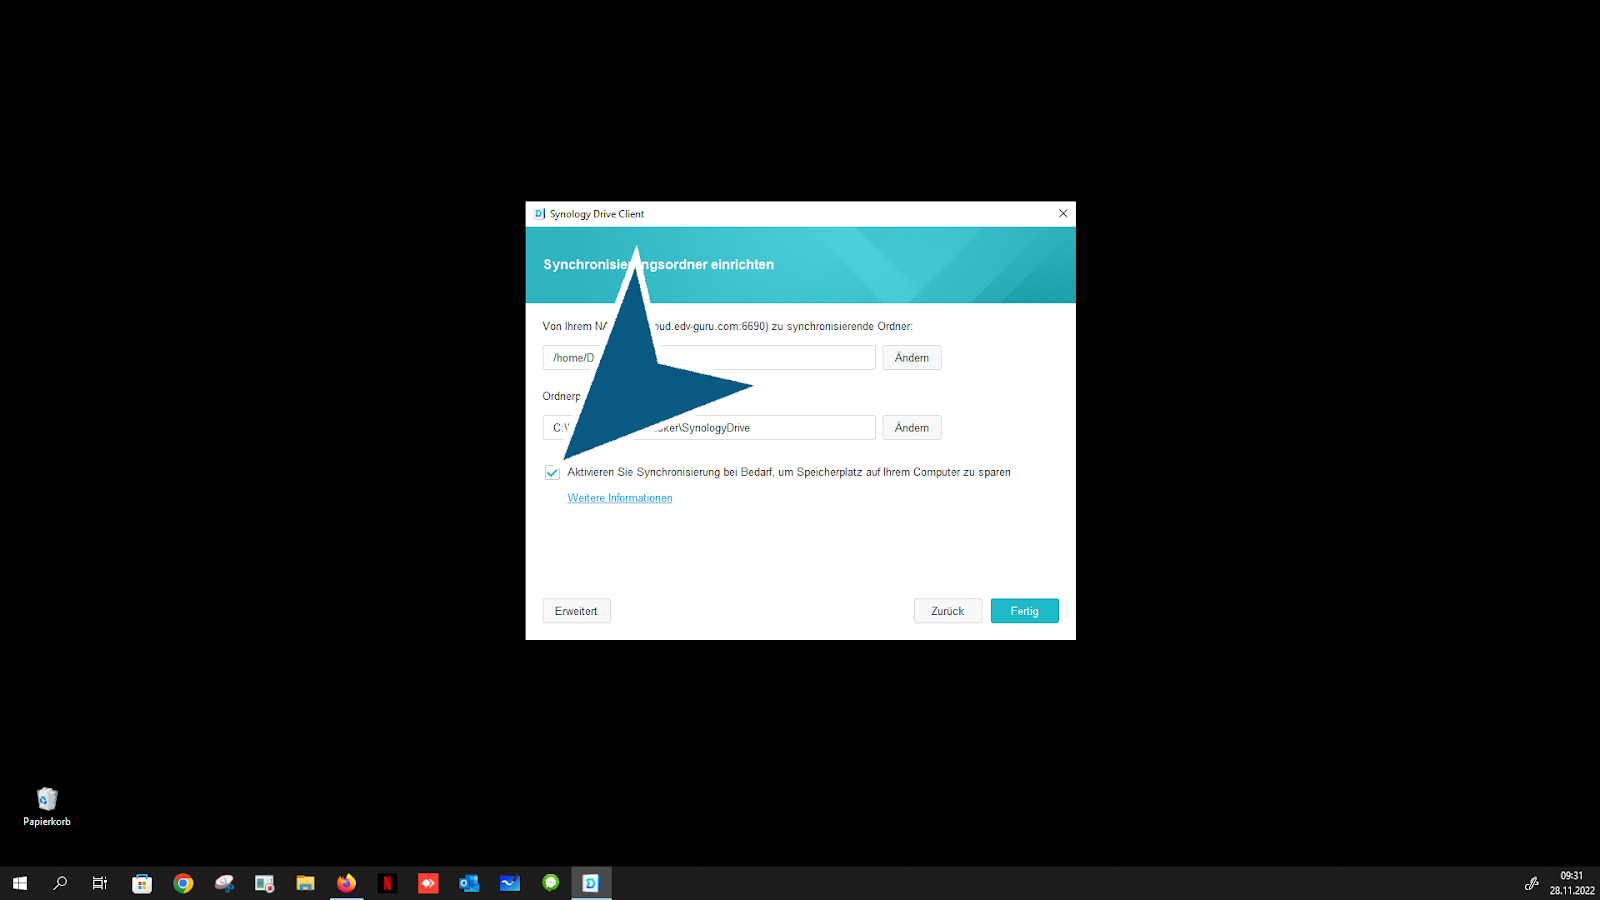
Click on “Done” button
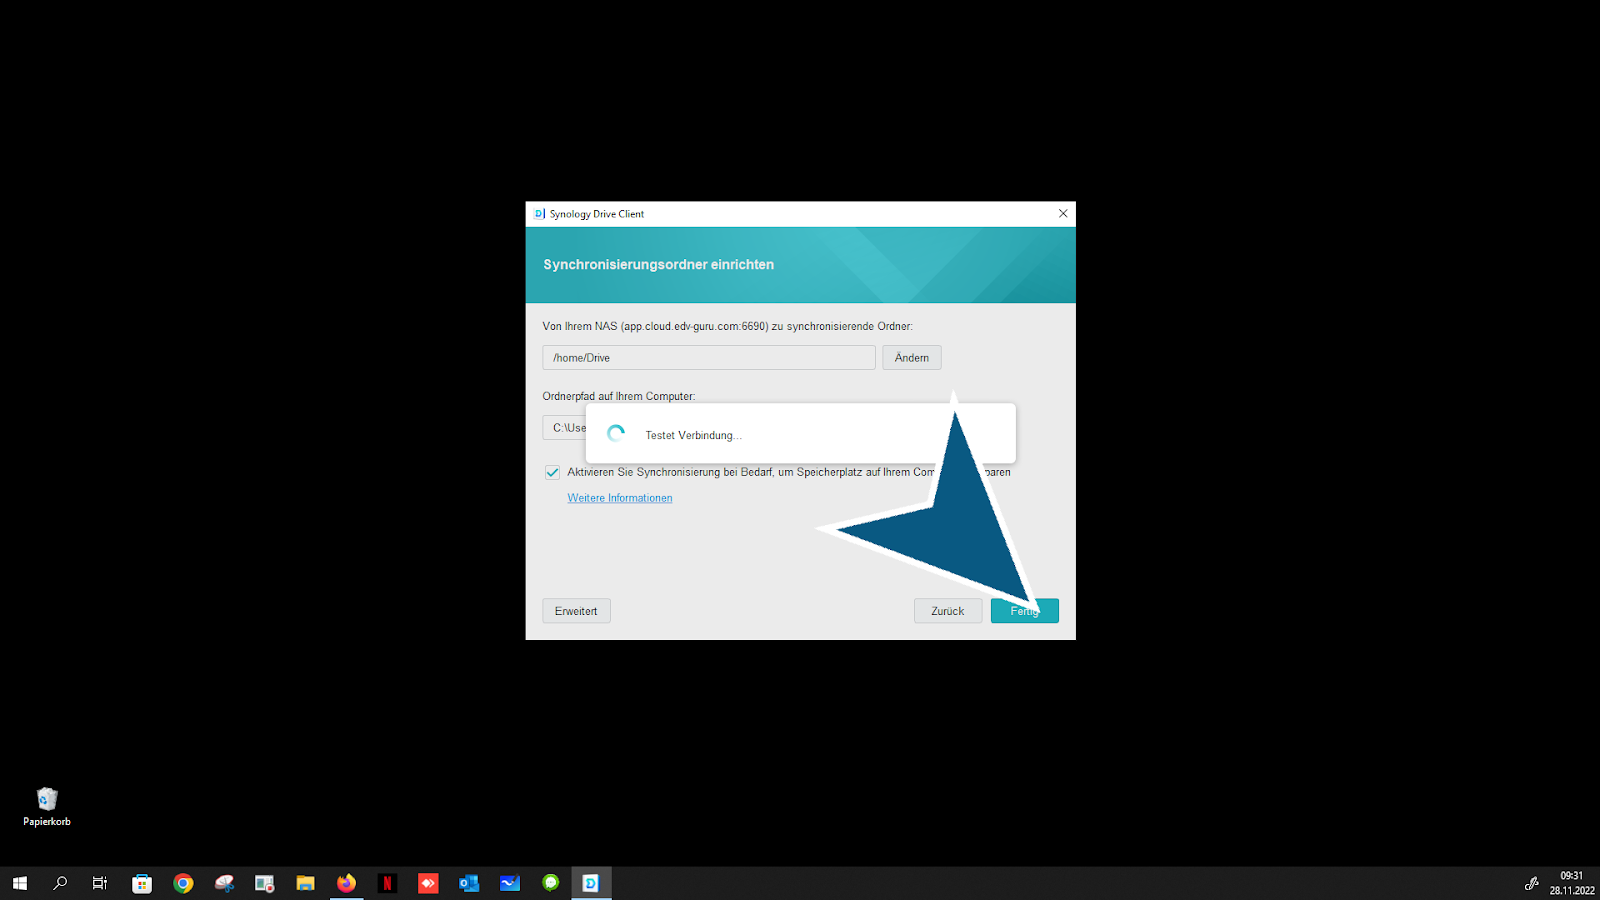
Click on “Continue” button

Click on “Continue” button
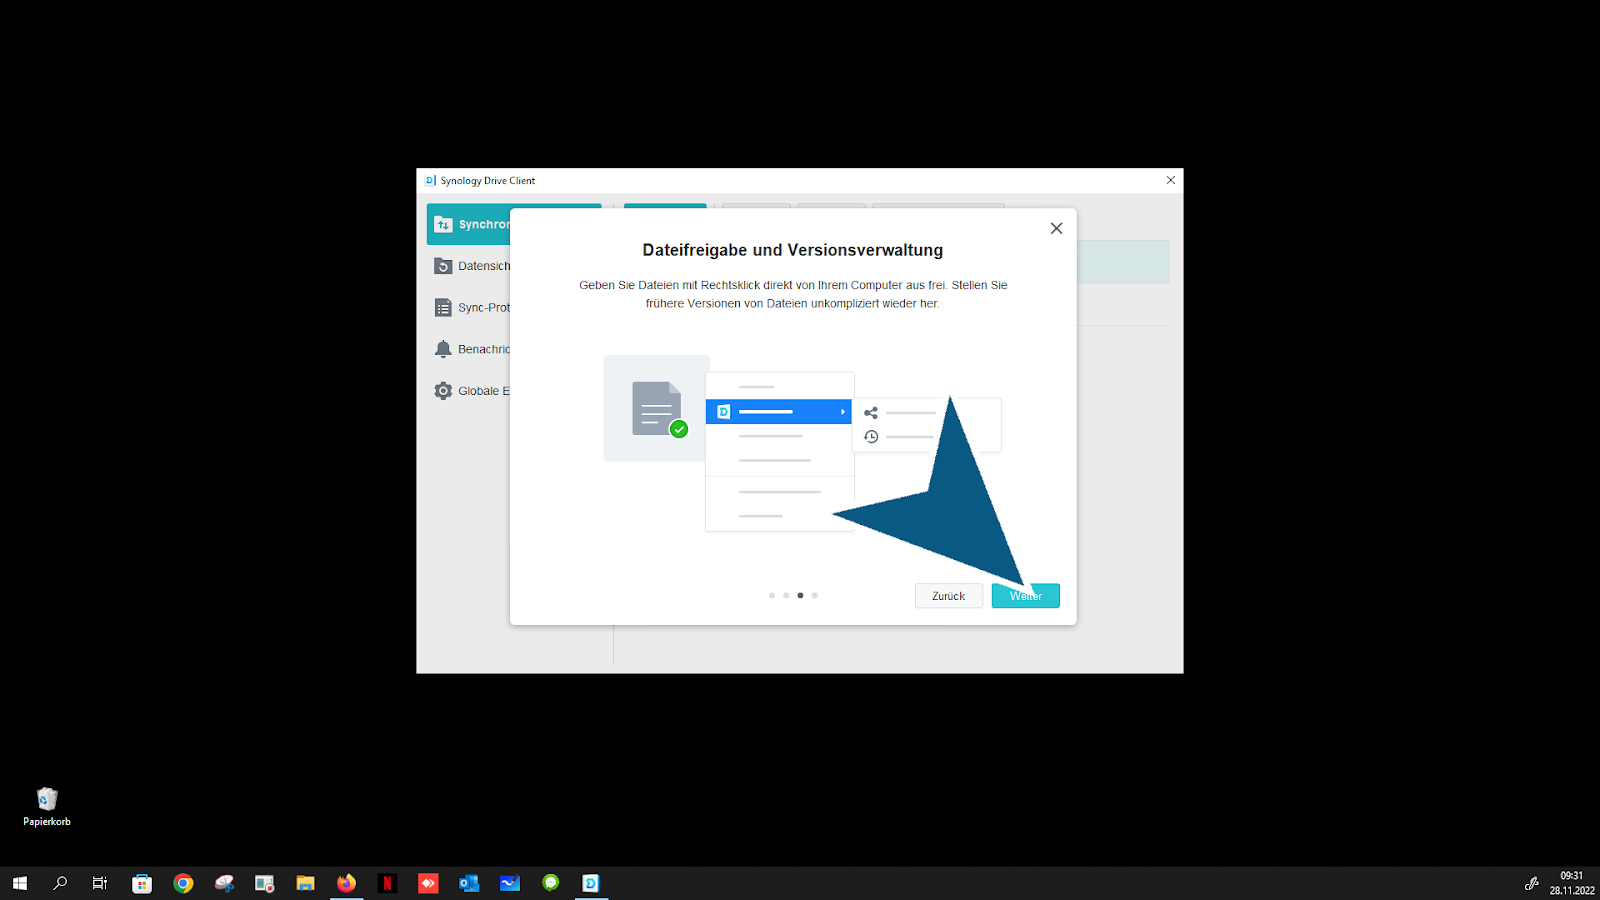
Click on “Continue” button

Click on “Open folder” button
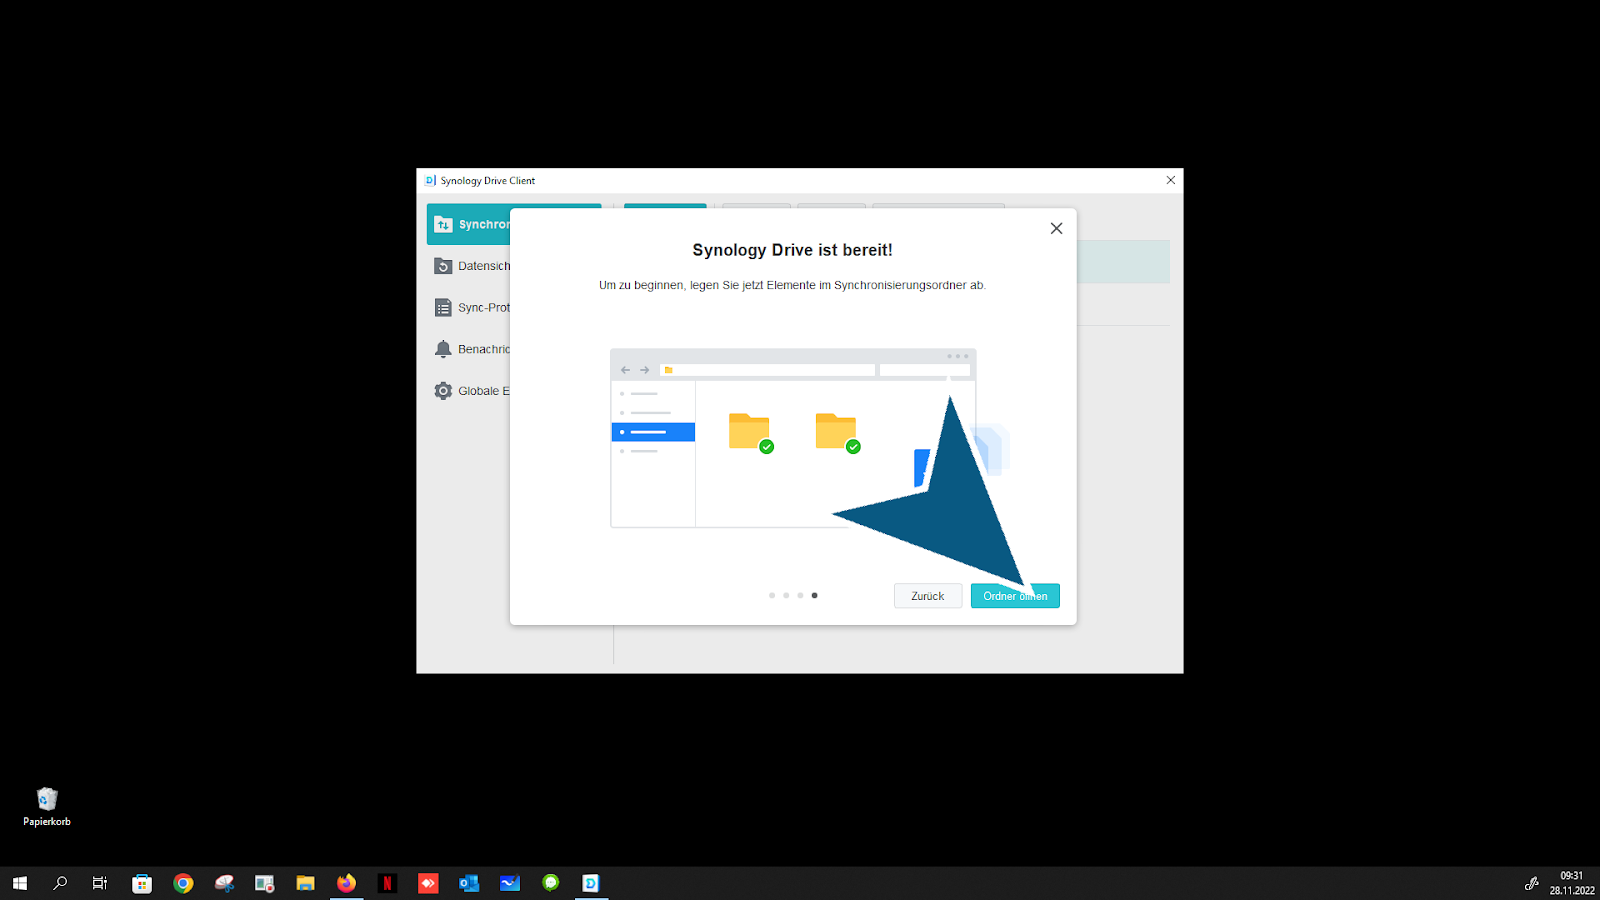
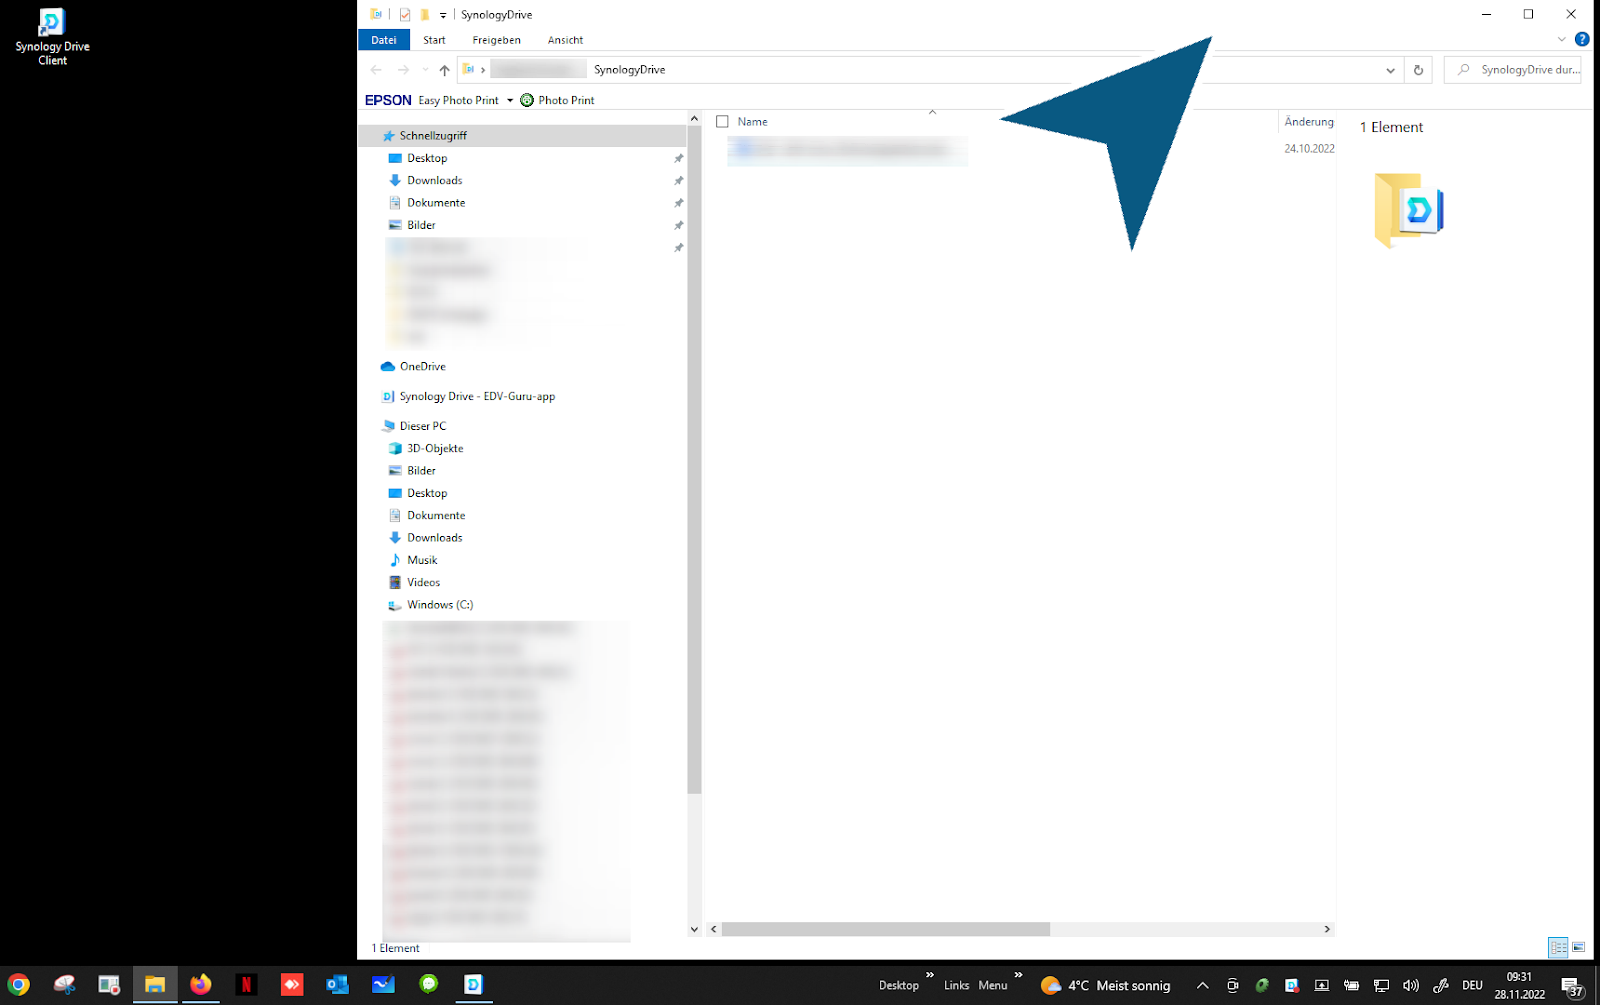
Click “Synology Drive”
Click on “Close” button
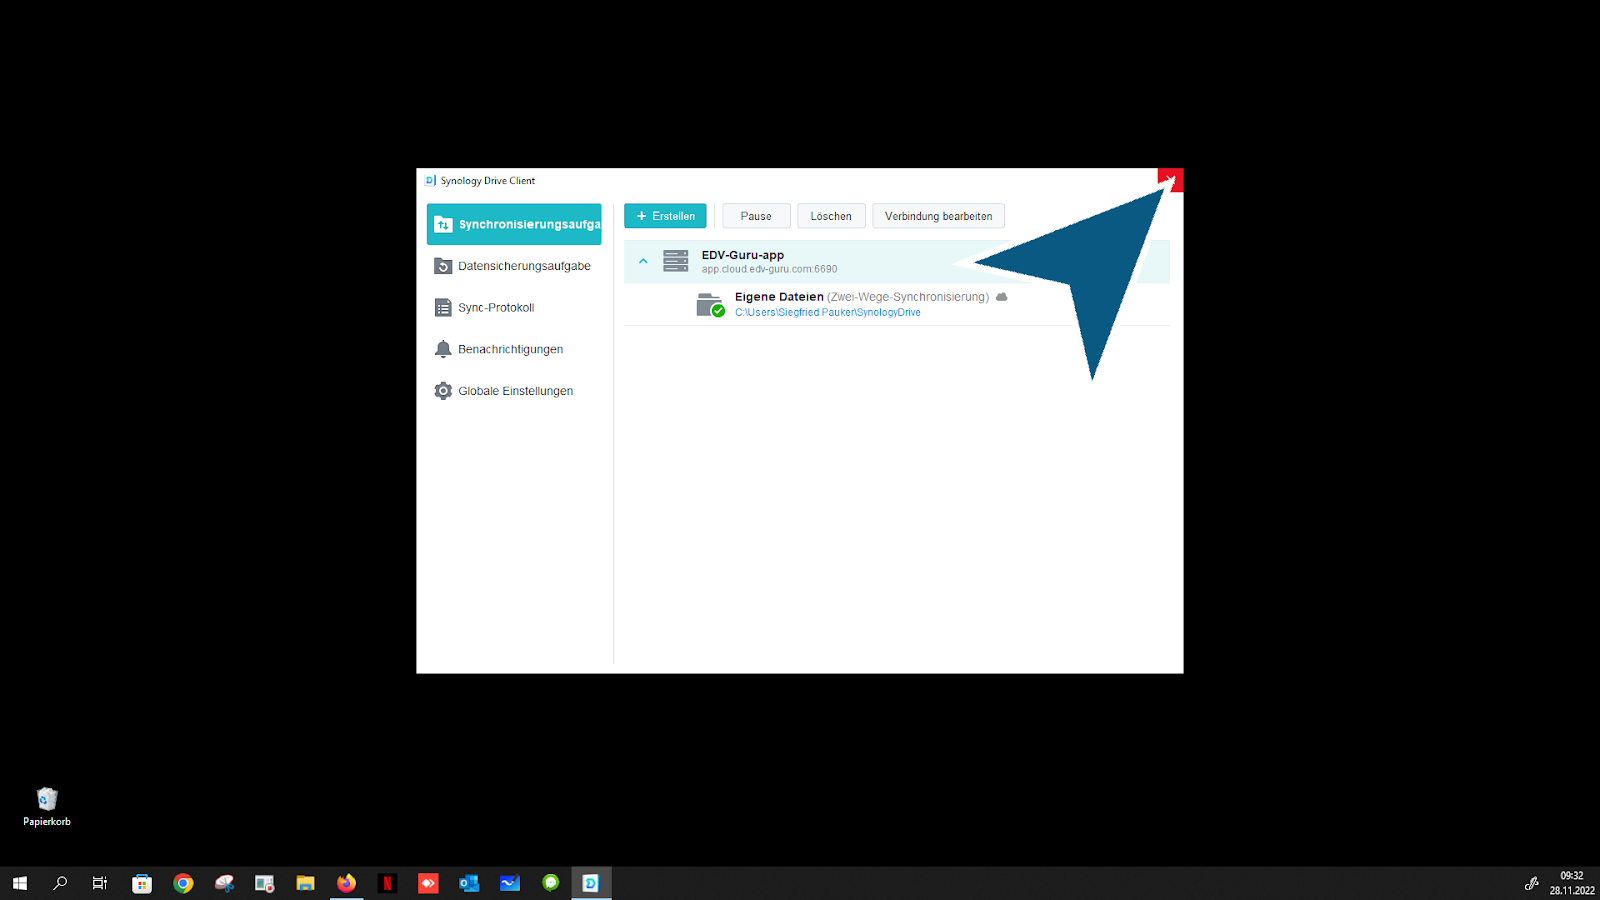
You will always find the current status of your cloud in the taskbar at the bottom rightClick on “Synology Drive Client 3.2.0 Latest” button
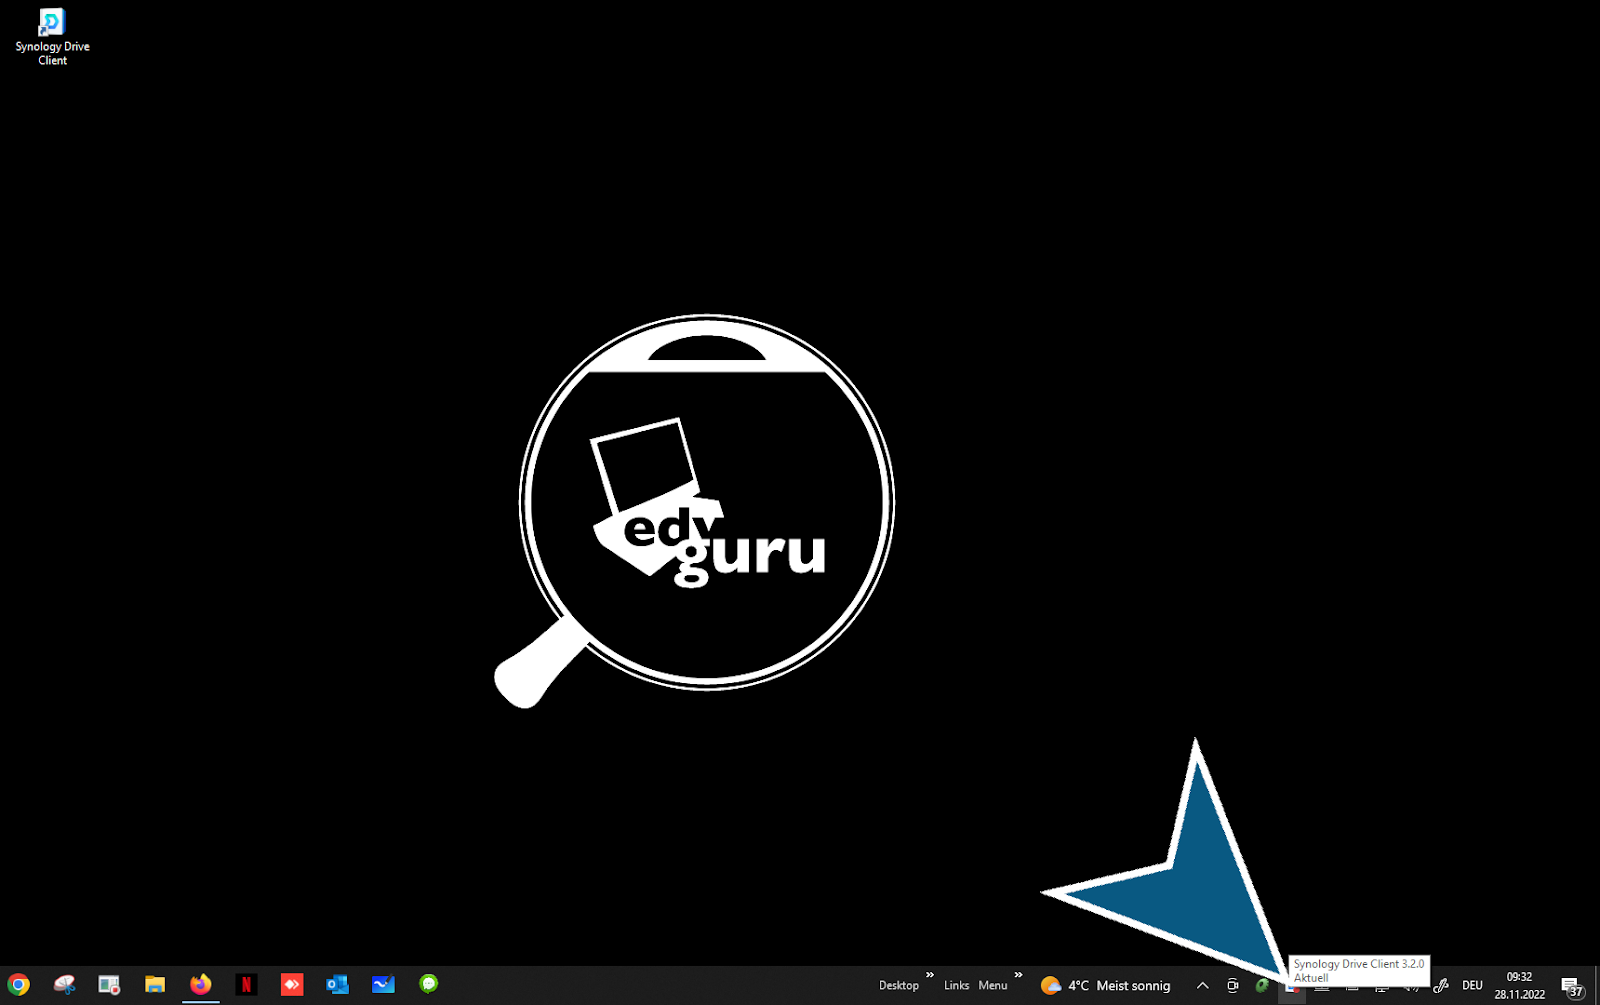
Click on “Synology Drive Client 3.2.0 Latest” Button - this is how you see current activities in your personal cloud
Done - end
